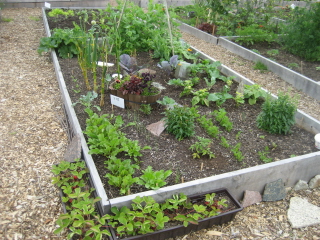
Category Archives: 16 Oaks Community Garden

Strange Things in the Garden

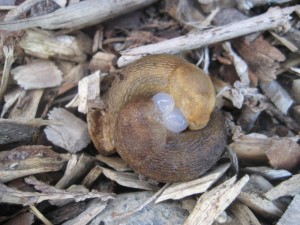
Slug Love

There are some strange goings-on in the garden:

First the slugs. Let’s just say they died happy…

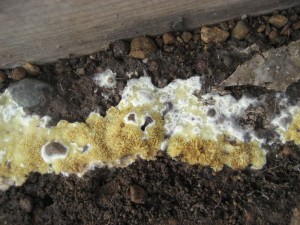
I have strange fungi growing under one of my strawberry boxes. It’s fascinating and intricate and beautiful in it’s own way.

Having said that, I’ve left it open to the elements to see if that takes care of it.

Strange Fungus

Change of the Seasons

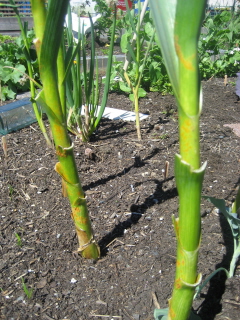
Before, with teepee

Yesterday was the day.

The surest signal of Fall.

The day the teepee came down.

The last of the beans are long finished but only now after a few days of rain and autumn chill am I resigned to taking down the teepee for the season. The transition to winter gardening has officially begun.

Also in true autumn fashion, after the record size beans harvested this year I saved some seeds for next.

After, without teepee

Delicious, Healthy Eating All Summer Long

Not all of my gardening this year has been riddled with blunders and mystery. In fact, I’m rather proud of how much food I’ve cultivated in the garden as a novice gardener.

Below is some of the bountiful harvest I have been enjoying all summer, often in a quick and healthy stirfry.*

Yellow bush beans, green pole beans and snow peas

Tomatoes, green and yellow wax beans and broccoli

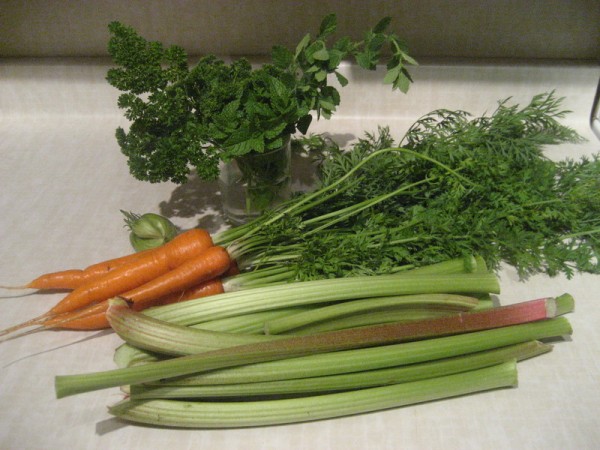
Carrots, rhubarb, mint and parsley

A tiny fraction of the beet greens I've harvested this year

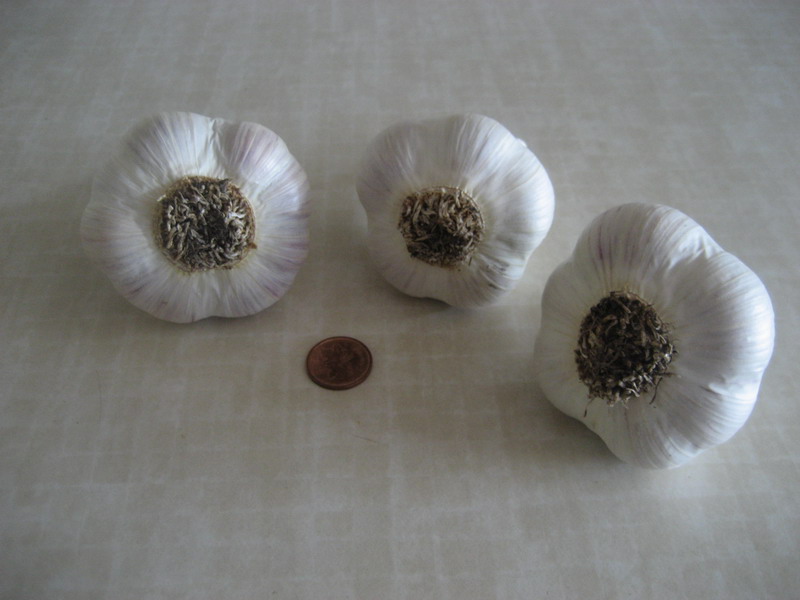
Three of my largest heads of garlic, approx. 3" diameter

Carrots still in the ground, yet to be savoured

A full head of broccoli is a beautiful sight to behold

The rhubarb patch after the first harvest -- can you see a difference?!

*Note: All it takes to make a delicious stirfry is a little (or more) organic butter or cold pressed olive oil (both are optimal sources of the good fat you need in your diet), a bit of this and that — whatever you have on hand from the garden. Add a dash of salt and a squeeze of citrus and you have a quick, healthy dinner.

Verdict in two words: Yum. Yum.

Freak Strawberry Sighting: Update

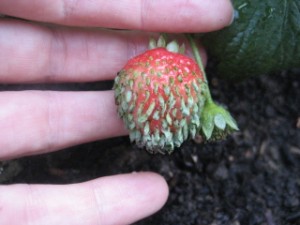
Sprouting Strawberry When I posted the photo and story about the freakish Strange Seeding Strawberry the other day, a lot of people asked what was going on and commented that they’d never seen anything like it. But no one could shed any light on the mystery.

See, typically strawberry seeds need to overwinter (a.k.a. freeze) in order to germinate. Having them germinate on a strawberry that was still attached to the plant seemed more than a little unusual.

Well, I’m all about local so I decided to give our very own Driedeger Farms, a local strawberry farm dating back to the mid-1940’s, a chance to weigh in on the topic.

Rhonda responded to my query asking a few identifying questions that I couldn’t answer about what kind of strawberry it was. “Uhm, a red one” was about as specific as I could be.

In the end Rhonda did her research online and found me an article on how to grow strawberries where the comments below referred to strawberries being planted in soil and sprouting that way. I appreciate that, but it was a bit disconcerting that the strawberry expert relied on eHow.com, even more so when her parting comment was, “It was definitely interesting to see them in their ‘natural’ state.”

I can cut Rhonda some slack given that strawberries naturally propagate via runners and on a 65 year old farm it’s not likely they’ve needed to rely on seeding in quite some time.

But it still doesn’t explain why a strawberry that has neither been frozen nor planted in soil, sprouted on the vine.

August 2010 Garden Update

It has come to my attention that I haven’t posted a picture of my full garden since July 9th, and it’s not from lack of taking the pictures. While I was excited about the burst of garden glory back then, it pales in comparison of the garden at the height of its glory.

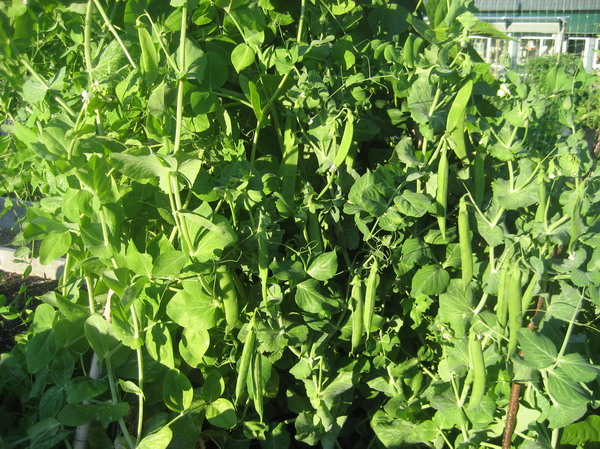
By mid-July the “tee pee” was completely covered in greenery in a combination of peas, snow peas and giant pole beans.

The garden in mid-July 2010

The tee pee is covered in delicious greenery

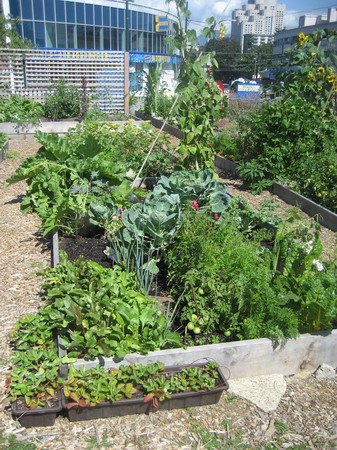
By early August most of the brightly coloured snapdragons were finished blooming, the rhubarb was in full spread, and the broccoli was well on it’s way to growing a lovely head. The beet greens continued unabated and the carrots were still a bit too small for harvest. In the photo below you can see that the snow peas are on their last legs, turning brown and suffering from a powdery mildew.

Garden greenery on August 11, 2010

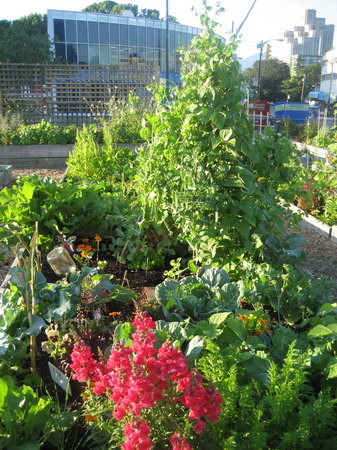
By last August, the peas were long gone, the snow peas had died and been removed, and only the pole beans continued to produce a few beans here and there. The broccoli has all been harvested and one row of carrots has been partially harvested which allows more room for the rainbow chard to flourish. The dwarf tomato plant in the foreground is heavily laden with fruit but none has ripened yet. Brussels sprouts are on the rise, and most of the pole beans (behind the chard) have been removed.

Garden August 23, 2010

Burst of Garden Glory

It’s hard to believe the difference a couple of weeks make.

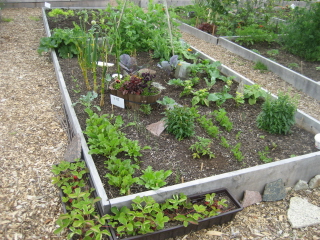
June 20, 2010

In just under 3 weeks, since the last garden update, my plot has gone from “it’s coming along” status to lush and full.

The first photo, taken June 20, 2010, shows some decent sprouting, particularly of beets in the bottom left. The snapdragons have buds but no flowers, and the snow peas are making headway up the mesh on The Teepee at the back of the plot.

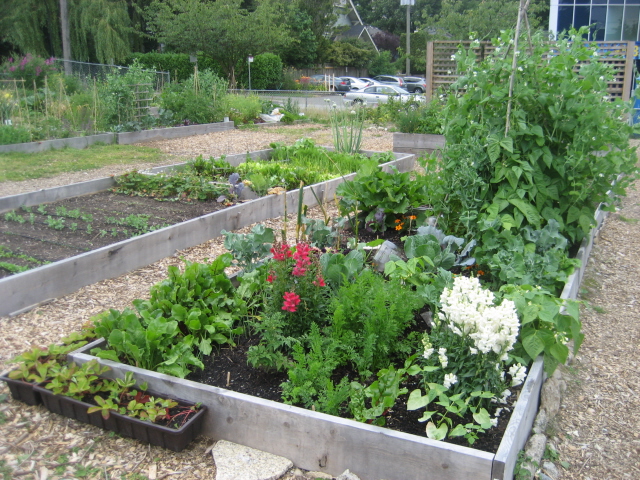
The second photo, taken just under 3 weeks later on July 9, 2010, shows a fabulous burst of growth and colour, thanks to our finally having received some steady sunshine. Hurrah!

July 9, 2010

Garden Update June 2010

I’ve been out to the garden a fair bit but consistently forget to bring my camera with me. I did however, snap these  pictures, the first on June 2nd, the most recent on June 20th. Here’s what’s new since the last update:

  • The snow peas have begun their happy ascent up the “teepee” (back right).
  • Two different kinds of beets have sprouted and are flourishing thus far, largely because slugs do not appear to like them — they are in good company (bottom left).
  • The carrots have sprouted (spot them front middle-ish).
  • The poor, sad garlic has been denuded of it’s leaves and rust has taken over the remaining stalks. Scapes are in evidence (see if you can find them, mid-plot left side; use top photo showing healthy garlic as guide).
  • The kohlrabi, two rows next to the beets, has not made an appearance. Not a single little sprout. Okay, no great loss.
  • The dwarf tomato (front centre of plot where the kohlrabi was planted) appears none the worse for wear despite having been transplanted twice, however, it’s not thriving either. It may be hesitating to set down roots for fear of being roused once more, poor thing. I made an unfortunate choice — or two — of locations, both of which ended up being too shady. Note to self!
  • Only a couple of the bush beans I seeded popped out and all of them are looking pretty sickly. Near as I can figure, it’s a mix of slugs and aphids, but I’ve caught only a few of each in the act.
  • The two red cabbages I swapped with my neighbours D&D for 3 cauliflower are taking nicely to being transplanted.
  • The spinach is just beginning to show itself (next to the rusty garlic).
  • One kind of kale I seeded is happily growing away, while another kind is less enthusiastic about it’s emergence into daylight (here and there).  We’ll have to keep an eye on that.

And last but not least:

  • The sprouted brassicas I bought and added are taking hold nicely: 3 Brussels sprouts, 3 broccoli and 2 cauliflower (mixed throughout).

Now if we could just get some sunshine instead of continuous clouds, cold and rain, we might see some real action!

Garlic Rust Fungus

Garlic rust fungus, close up

In further pest and pestilence news from the community garden, my garlic has developed a nasty rust fungus problem.  And mine is by  no means the only affected plot, thanks to a miserably cold and wet April and May. And June.

Thank heavens for our garden Education Committee of One who knew what it was and tenaciously spent time researching how to deal with it.

Notes-to-self if you are encountering this issue:

  • The fungus can spread to leeks and onions also, but not other types of plants
  • Caused by excess rain and lack of light and/or soil inadequacies
  • Possible solutions: Create sprays with either baking soda, milk, neem oil (huh?) or chamomile tea (see recipes below)
  • Cut off the leaves then dispose of them (NOT in your compost bin, people!) to ensure the fungus does not spread. Word on the street is, the stalk continues to photosynthesis even if you remove the leaves
  • Disinfect your clippers, etc. also to ensure the fungus does not spread from plant to plant (this is serious, folks!)
  • The good news is garlic rust does not appear to affect the garlic bulb — I pulled one to test and it looks just fine

Infected garlic, sans leaves

Organic, Rust Fungus Spray Recipes

  1. 1 gallon water, 1Tbsp baking soda, 2.5 Tbsp vegetable oil
  2. 1Tbsp milk per gallon water
  3. 1 tsp neem oil, 1Litre water or chamomile tea

These teas may be more preventative than cures; spray on infected leaves in morning for several days in a row (especially if rain is washing off leaves – the oil helps spray stick to leaf).

I have cut off all the leaves and am trying the baking soda recipe. I have no great hope of eradicating the rust, but I do hope to minimize any further infestation on both mine and my neighbours’ plants.

More on Garlic

If you want additional general info about garlic such as how and when to harvest and cure it, check out the Garlic Farm website, which I found in my garlic research travels.

They are located in British Columbia (middle of the province at the US border in a town appropriately named Midway), and sell organic garlic seed in Canada and the US. They start taking orders July 2nd on a first come, first serve basis for delivery in September. Get your order in now!

Slug Patrol 2010

Well, the gardening year is off to a stunning start in the pest and pestilence departments, and it promises to be a busy season of remedies and intervention — organic of course.

With all of the moisture and cool temperatures we’ve had, slugs are having a field day in the community garden. My plot has not been particularly hard hit relatively speaking, but the slime masters have definitely enjoyed more than their fair share of my pole and bush bean sprouts.
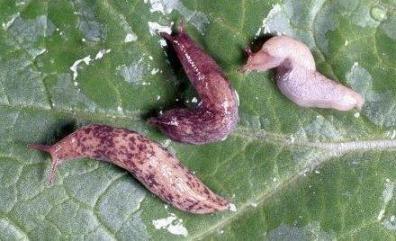
Two weekends ago before I planted my lettuce I spent a couple of hours enduring a Saturday afternoon of misty rain — getting rather damp in the process — on serious slug patrol. They definitely let their guard down in weather that any normal person would know to come indoors from.

In some cases, the slugs were quite effective in blending in and only when I’d crouched still, thoroughly surveying a small area was I able to spot them. There were also some really big, nasty buggers (it’s okay to say that when they are, in fact, bugs).

And I noticed there is a crack between my and my neighbour’s garden plot where some of the larger ones are coming up from the depths. (Hmmm, note to self, bring salt for dropping into crack…)

To Squish or Not to Squish

On the question of preferred method of disposal, we gardeners are of differing opinions. Normally an advocate of non-violence, I chose the cut-’em-in-half method as it seemed the quickest. My mom uses the put-them-in-a-bag suffocation method. When I discussed the relative pros and cons with some of my fellow gardeners, one of them pointed out that at least suffocation is painless (loss of oxygen, falling asleep, dying) vs. the more abrupt, barbaric method I’d chosen. He has a point. Plus there’s less slime and goo to deal with. Aforementioned earlier comment aside, salt seems unusually cruel.

Organic Slug Remedies

With many other plots quite heavily affected there have been many suggestions to deal with slugs. Here are a few favourites, contributed by several garden members (the wisecracks are mine):

  • Plant things slugs dislike: Ginger, garlic, mint, chives, red lettuce, red cabbage, sage, sunflower, fennel, foxglove, mint, chicory and endive seem to be less prone to slug attack. (This of course is no help if all you want to eat is tender, delicious lettuce, bok choy, and green beans.)
  • Change your watering schedule: Probably one of the best ways to get rid of slugs is to water in the morning instead of the evening. Slugs have very delicate bodies that require a moist environment. They are abundant in the garden because it contains a great source of food and it is usually very moist from watering. (Well, that and we’ve had a very wet year so far.)
  • The infamous beer trap: An age-old trick for controlling slugs is to use beer as a trap. Set a small amount of beer in a wide and shallow container or bowl and bury it in your garden soil, level with the ground. Slugs will crawl into the bowl and drown in the beer. (But they die happy. I tried that on a rooftop deck one year, but the slugs didn’t like the brand of beer I used. At least, that’s all I could assume since that trick didn’t work.)
  • Copper wiring: Another slug control method is to attach small strips of copper around the sides of flower pots or raised beds. The copper acts as a barrier that slugs won’t cross. Make sure there aren’t any leaves or branches hanging over the side that will allow slugs to bypass the copper. (You can buy copper strips from the gardening store or finally use up that mega jar of pennies you’ve been saving for forever.)
  • Lava rock: Lava rock has an abrasive surface that most slugs will avoid. (Haven’t seen any volcanoes nearby…)
  • Crushed egg shells: Crushed up egg shells also have sharp edges that slugs will avoid. (I’ve tried this as a cheaper alternative than finding or buying lava rock, and thus far my salad sprouts remain uneaten.)
  • Use a caffeine based spray: Spray around infected areas, especially on leaves and soil surrounding any slug delicacies. It is harmless to pets, kids and plants. It works by reducing the mollusc’s appetite; if you catch one near the plant you’ll see it doing a very unnatural u-turn of a twist to get away. (I’m guessing “caffeine based spray” could simply mean “coffee”.)
  • Leave the beetles alone: Those large, black iridescent beetles you see in your garden are predators! (Which just proves once again that there is such thing as a good bug.)

And finally, my favourite, a low tech option:

“I’ve always just used a plastic lid from whatever. As long as it doesn’t let through much or any light. The dark moist environment under it is a nice place for a slug to curl up for the day. Then dispose of them as you feel most comfortable, Squish!”

Related Post: Good Bug or Bad Bug